How to Write a Standard and Complete README?
As a programmer, writing a README for your own project or repository is an inevitable task. A good, standardized README file allows others to quickly and accurately understand your repository's code, install and use it rapidly, and know how to collaborate with you when necessary, which greatly helps in the dissemination of open-source projects.
So, how do you write a standardized and concise README file? What sections should a standard README file have? If you have these same questions, please read this article carefully; I believe it will be of great help to you.
When to Write?
The README file must be prepared before anyone else can access the project or repository. Creating a README file at the same time as a new project is a good development habit; it should be the first file submitted for any project repository.
Where to Put It?
Usually, it is placed in the root directory of the project because this is the first place others enter when visiting your project or repository for the first time. Platforms like GitHub and GitLab will automatically look for the README file in your project by default and display it at the bottom of your project directory.
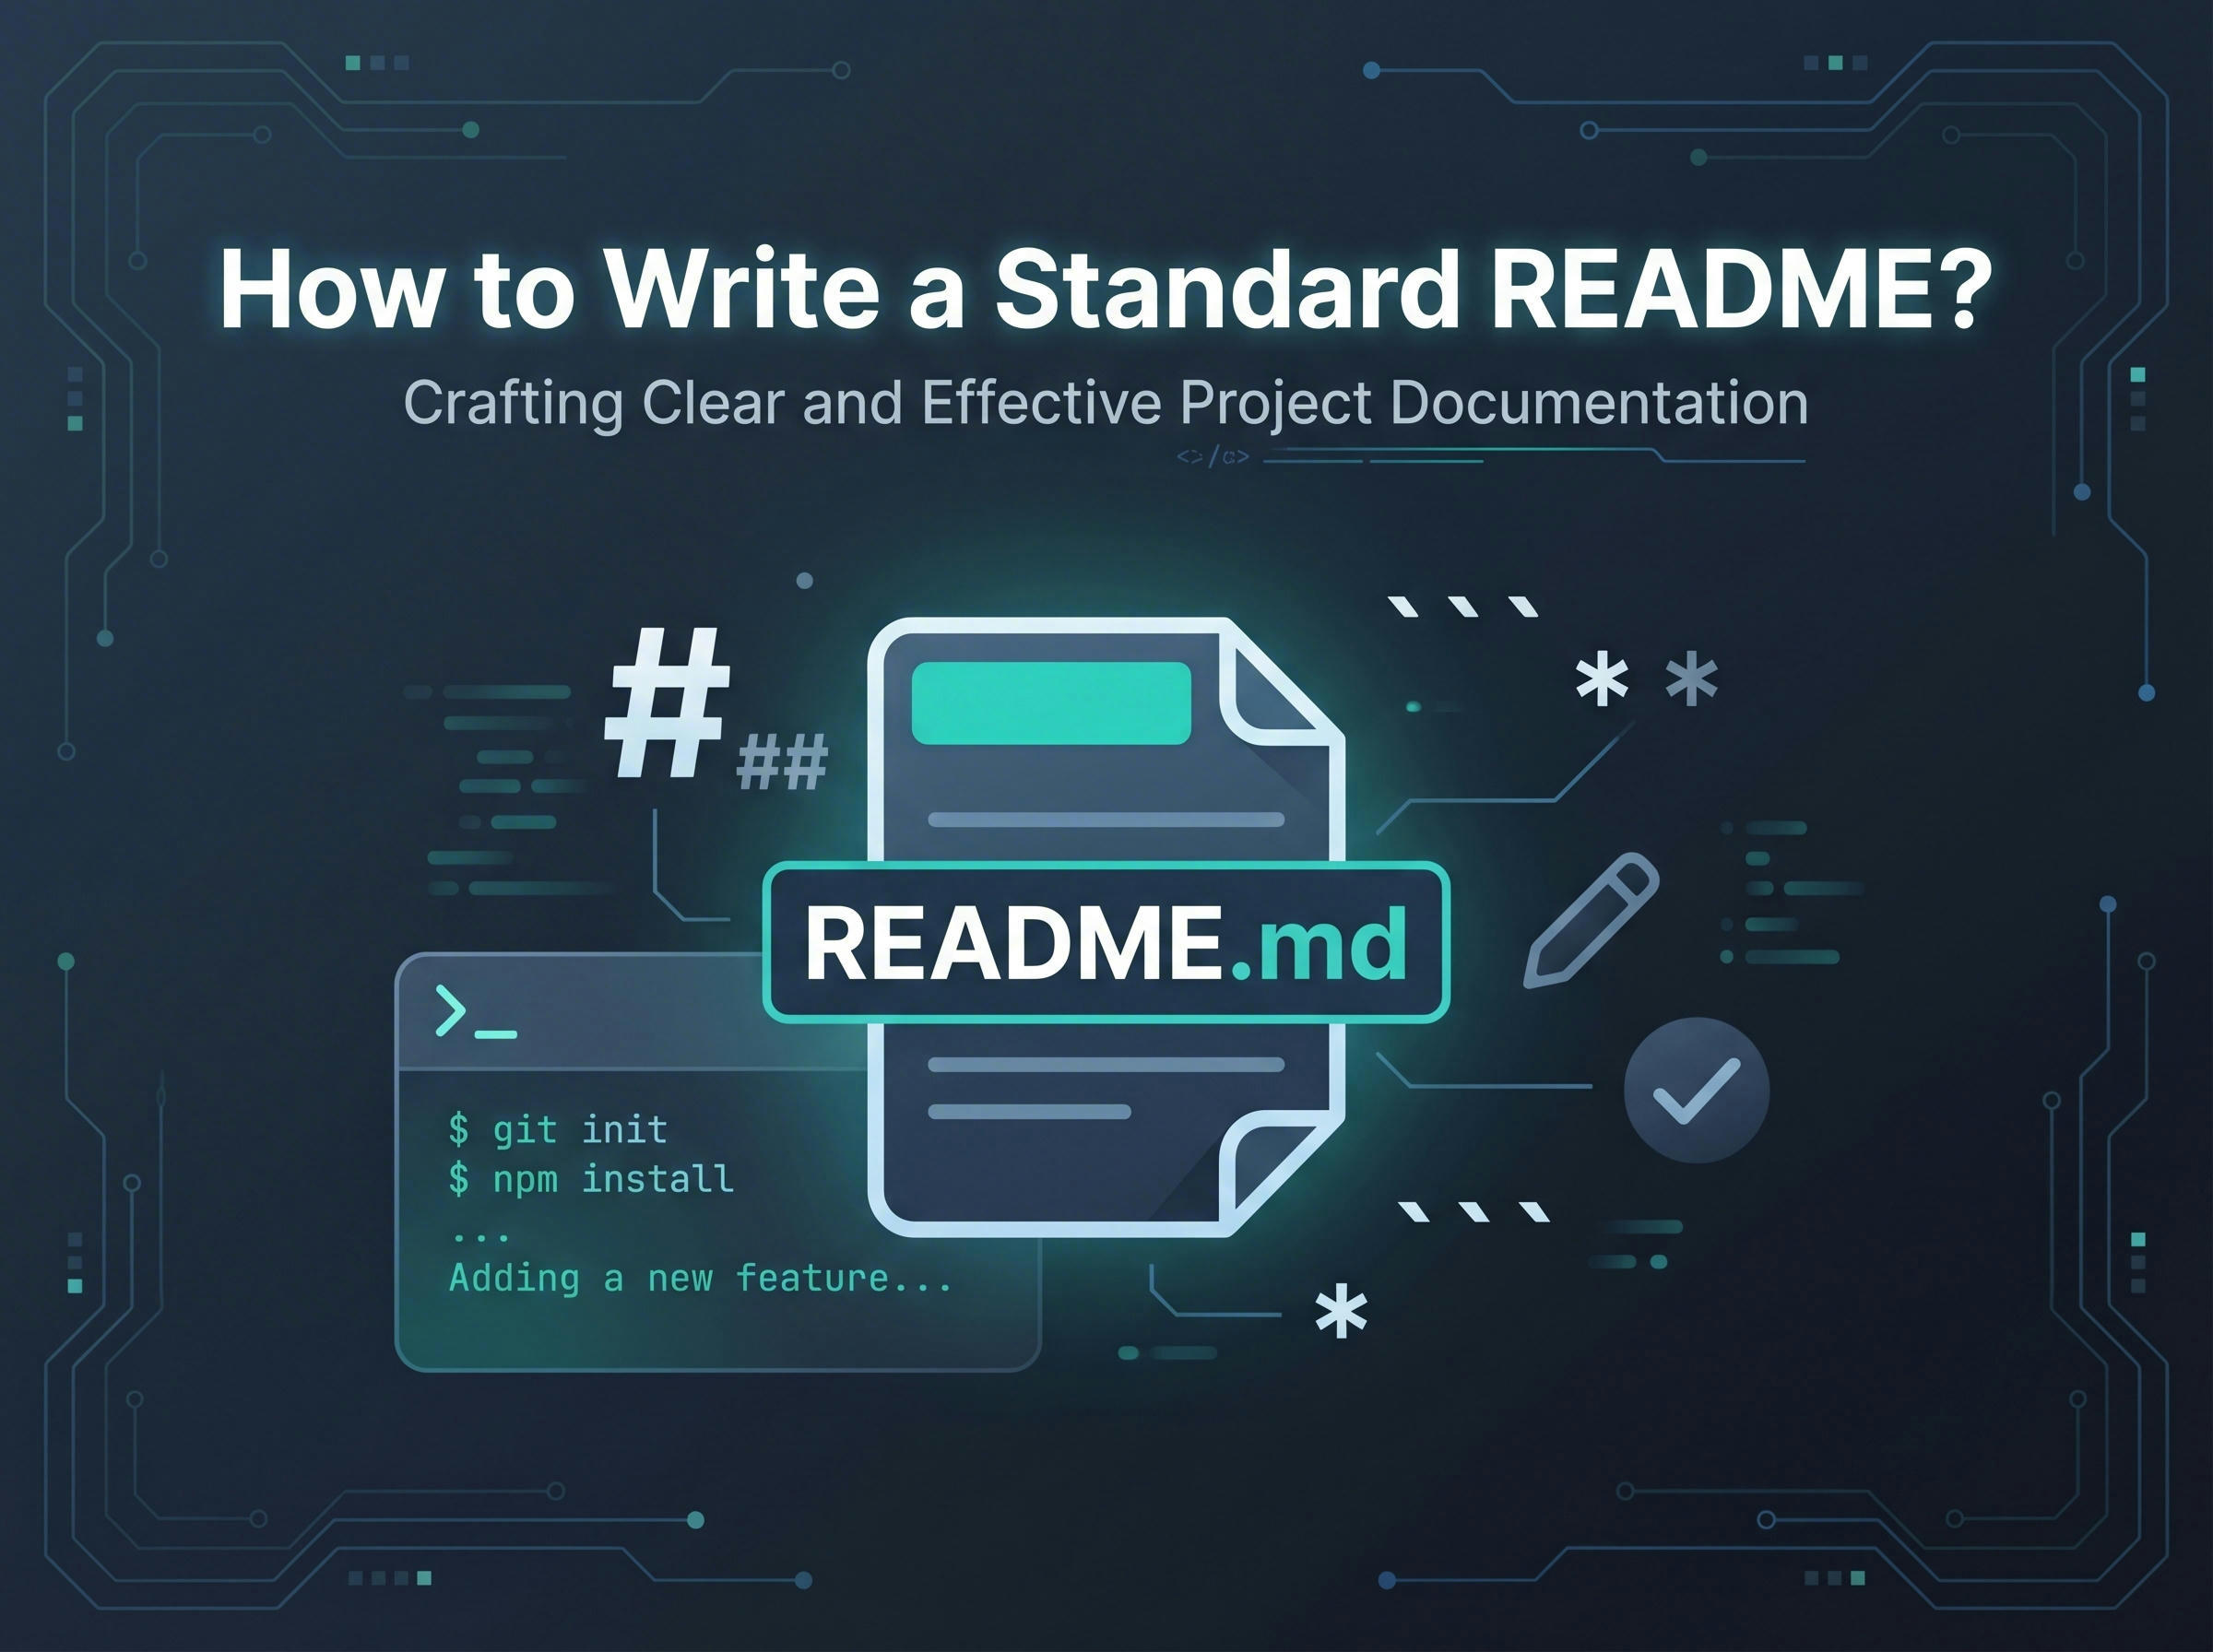
How to Write?
File Type
Although in theory, the README file can be in any file format that can display txt, the most commonly used format is Markdown.
Template Format
Let's first look at a relatively simple README.md file, which is a basic template. Since every project is different, you don't necessarily have to follow this template. In the later part of this article, we will explain and discuss the necessary parts of the template.
Foobar
Foobar is a Python library for dealing with word pluralization.
Installation
Use the package manager pip to install foobar.
pip install foobarUsage
import foobar

# returns 'words'
foobar.pluralize ( 'word' )

# returns 'geese'
foobar.pluralize ( 'goose' )

# returns 'phenomenon'
foobar.singularize ( 'phenomena' )
Contributing
Pull requests are welcome. For major changes, please open an issue first to discuss what you would like to change.
Please make sure to update tests as appropriate.
License
README.md Template
You can click the `</>` icon in the bottom right corner to view the source code
Essential Elements
Since every project is different, it is difficult to give a standard README format; you must adjust the template according to your project. Although generally, a README is not very long, when you find that your README length is too long, you should consider other documentation forms instead of deleting content from the README. Because a more detailed README is always better than one that's too short, try to ensure that all information others need to know is included in the README.
Below are some essential sections in a README for your reference.
Name
It is essential to choose a good name for your project or repository. A good name must be self-explanatory, meaning that others can understand the core functionality of the repository just by seeing the name, without needing more explanation.
Description
Let people know specifically what your project can do. Provide context and add links to any references that visitors might be unfamiliar with. You can also add feature lists or background sub-sections here. If your project has other similar or replaceable projects, this is a good place to list differentiating factors from other projects.
Badges
You may have seen some badges in some README files to represent download counts, versions, or other information. If you haven't seen them, the badge we are talking about refers to the little thing below:
If you want to add this to your own README, Shields.io is a good choice. Additionally, there are many other websites available on the internet to generate them.
Visuals
To make it easier for visitors to understand the execution effect of the code, adding some screenshots, GIFs, or videos in the README is a very good choice. There are many small tools that can help you, such as ttygif.
Installation
Installation instructions are indispensable in a README. Usually, it is necessary to list the detailed installation process in different environments. Please consider the possibility that a visitor is a novice and show the installation process as much as possible; specific steps help eliminate ambiguity.
If your project can only run within specific dependencies, it also needs to be pointed out here. If the dependencies are very complex, an additional Requirements section needs to be added in the README for explanation.
Usage
Give some small use cases and list the expected output as much as possible. If possible, provide jump links for complex examples if they are too long to be reasonably included in the README.
Support
Tell visitors how they can contact you so that they can ask you for help or contribute to the project.
Roadmap
If you have future update plans or a TODO List, you can also list them in the README.
Contributing
Indicate whether you are willing to accept contributions and what the conditions for accepting them are.
For people who want to change the project, having some documentation on how to get started is helpful. Maybe they need to run a script, or need to set some environment variables. Be clear about these steps. These guidelines are also useful for your future self.
You can also document commands to check code or run tests. These steps help ensure high-quality code and reduce the possibility of changes inadvertently breaking something. Providing instructions for running tests is especially useful if external setup is required, such as starting a Selenium server in a browser for testing.
Authors and Acknowledgment
Express sincere thanks to the contributors of the project or those who have helped you; you can reference their blog homepages or GitHub homepages here.
License
For open-source projects, a License needs to be attached. If you don't know how to choose a License that suits you, this website will help you: Choose an open source license.
Project Status
If you no longer have the energy or plans to continue maintaining this project, please state at the top of the README that the development of the project has completely stopped. If you want people to volunteer as maintainers to step in and keep the project going, you can also make a request in this section.
Changelog
You can add a link in the README that jumps to the Changelog, documenting in detail the differences between project versions and precautions.
Other Documentation Forms
While a README file is essential for a project, many times it is not enough. There are many other forms of documentation that will help you better explain and promote your open-source project.
Related Resources
I believe you have seen many animations, avatars, or other beautified parts when checking out many repos. I've attached some resource links here. If you also want to add some decorations to your README, feel free to use the following resources.
Readme Typing SVG : Generates an animation that prints out a specified sentence letter by letter.
Profile Header Generator : Can generate header images to emphasize the
READMEtitle or for decoration.github header image

Skill Icons : Can use code to insert common tech stack logos into markdown files, often used to mark some technologies used by the repo.
Skill Icons
My Skills